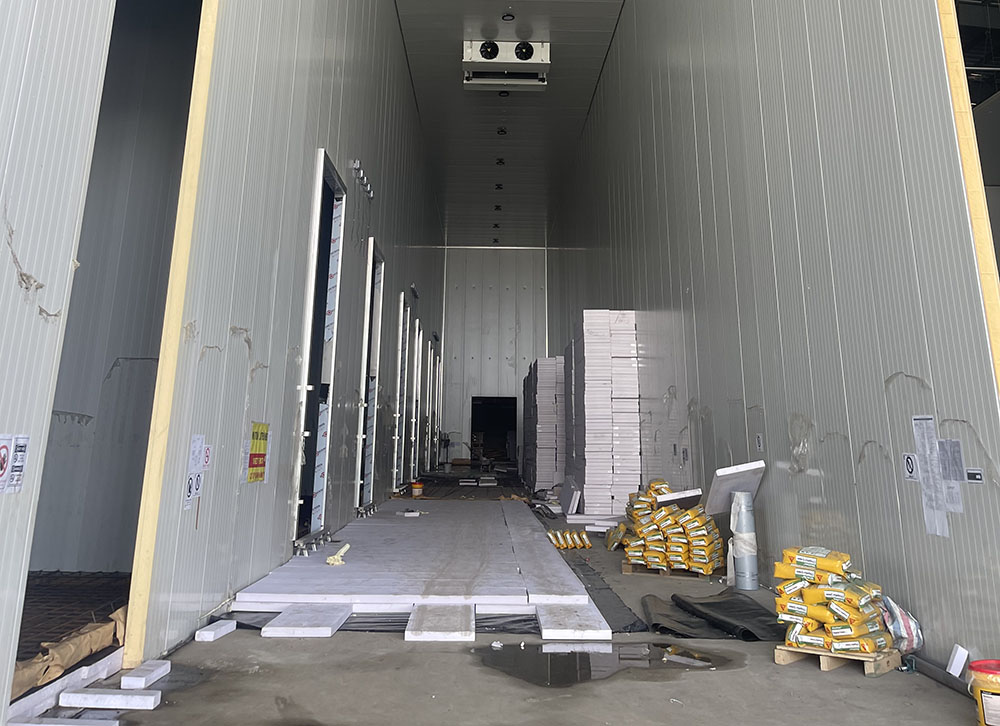
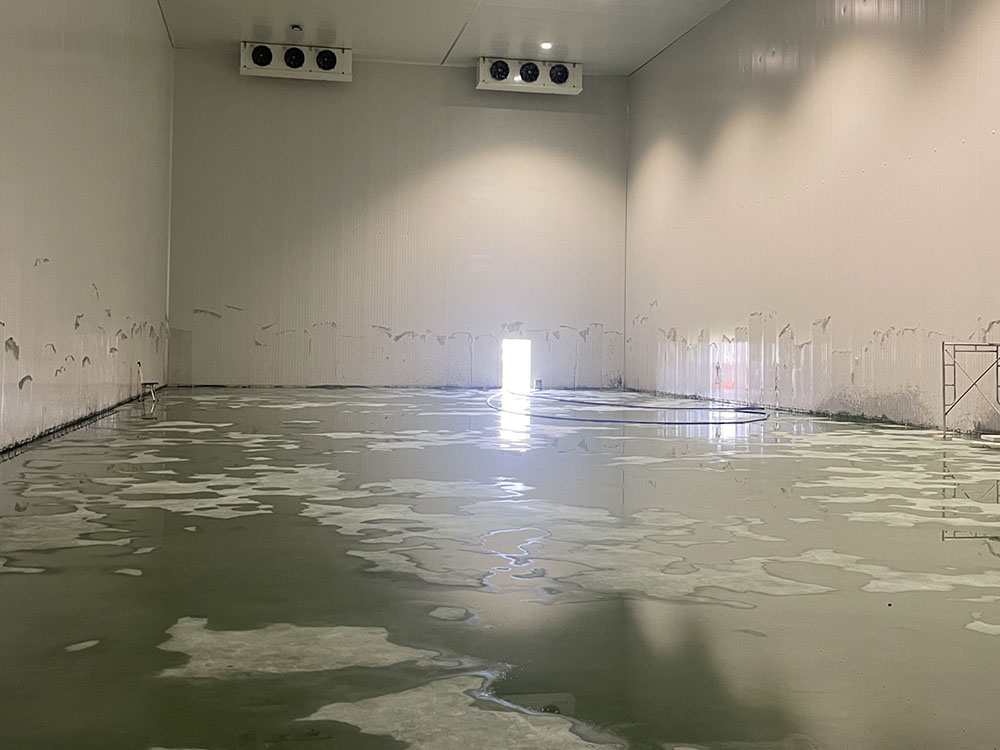
Ground insulation is vital for a cold storage's performance. Here's how:
1. Base Prep
Ensure the ground is flat, dry, and clean. Clear all debris. Level uneven ground with cement mortar, with the thickness adjusted as needed and flatness within tolerance. Repair cracks and pits; small ones with caulking, larger ones with concrete after cleaning, ensuring a tight bond with the surrounding ground.
2. Damp-proof Layer
Use polyethylene film or asphalt coiled material to stop underground moisture. For the film, lay it flat with 10 - 15 cm overlaps and tape the joints. For the coiled material, heat and paste with at least 10 cm overlaps, ensuring a firm, wrinkle-free bond.
3. Insulation Layer
3.1 Material Choice
Options include EPS (low cost, good insulation but low compressive strength), XPS (better insulation and strength, good moisture resistance), and polyurethane (excellent insulation, can be foamed on-site to fill gaps, but costly).
3.2 Installation
With XPS, fit boards tightly; fill large gaps with debris or caulking. Thickness depends on the cold storage size. For polyurethane, mix and pour with equipment, controlling the foaming process for uniform fill.

4. Vapor Barrier
Lay aluminum foil vapor barrier film on the insulation, seal joints with sealant to prevent vapor entry.
5. Protection Layer
Pour a 6 - 10 cm reinforced concrete layer over the insulation and vapor barrier. Use a steel mesh for strength. Cure it to reach the design strength.
Follow these steps and specs to ensure quality insulation, enabling the cold storage to operate properly.


